As I write this article is the time when the landscape turns into a gamut of beautiful browns, oranges, and ochres. I love autumn, though it is quite challenging for me as a Mediterranean person used to the sun.
Walking with my family is a good way to enjoy the amazing colors of fall, and blackberry picking is one of the most relaxing outdoor activities for us. You are focused on picking the best berry, and you can slow down and listen to the sounds of nature.
Of course, after such a relaxing activity, you’ll want to enjoy a feast with your collection, bake a cake, or make some yummy organic jam. What a delicious reward!
That’s why I’m sharing my personal blackberry jam recipe. It has no processed sugar, and you can enjoy it on toast, with yogurt, or as an afternoon snack. There is no excuse not to enjoy what autumn brings!
Contents
Ingredients
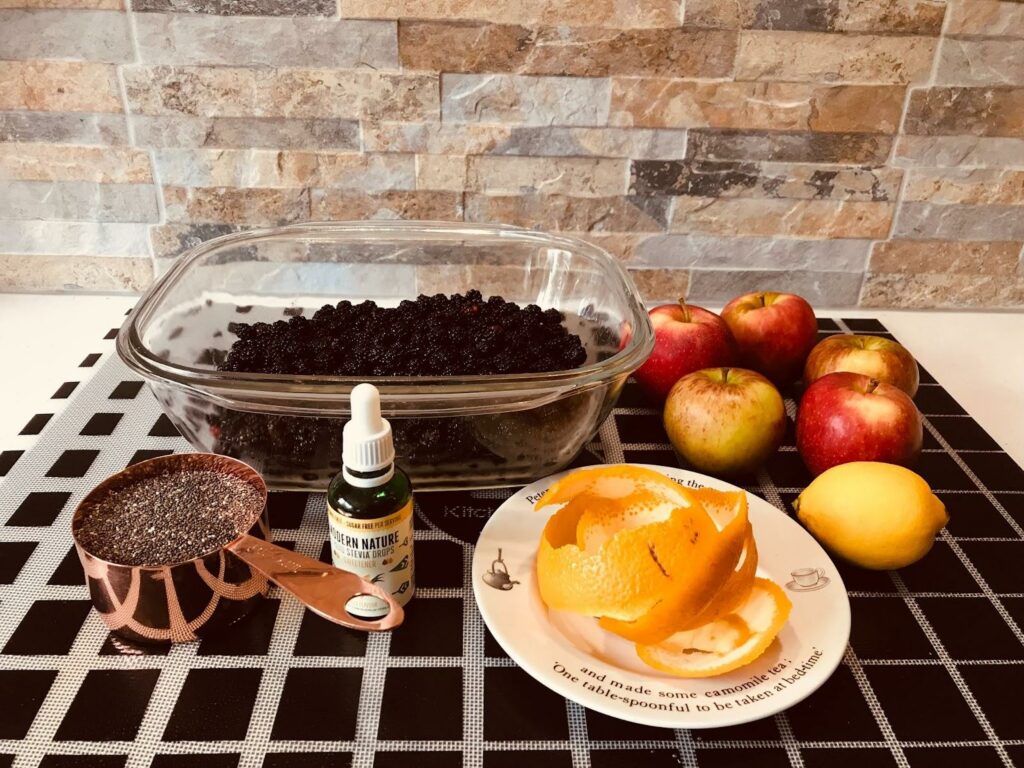
- 24 oz. (700 grams) blackberries
- 5 apples
- Juice of 1 lemon
- Zest of 1 orange
- ½ cup chia seeds (approximately 5 tablespoons)
- 1 teaspoon liquid stevia
Lemon: A Natural Alternative to Chemical Preservatives
Lemon is a citrus fruit known for its numerous health benefits. It is rich in fiber and vitamin C. They also have antioxidant benefits and antibacterial properties. Thanks to their anti-darkening properties, I use lemon to avoid food oxidation, when I am cutting apples for school lunches or when I am making guacamole.
Fruit jams are traditionally made with sugar, which is a well-known preservative, but I wanted to make an unsweetened jam. I have taken advantage of the acidic properties of the lemons to inhibit bacteria growth. Store this jam in the fridge to keep your jam fresh longer.
Instructions
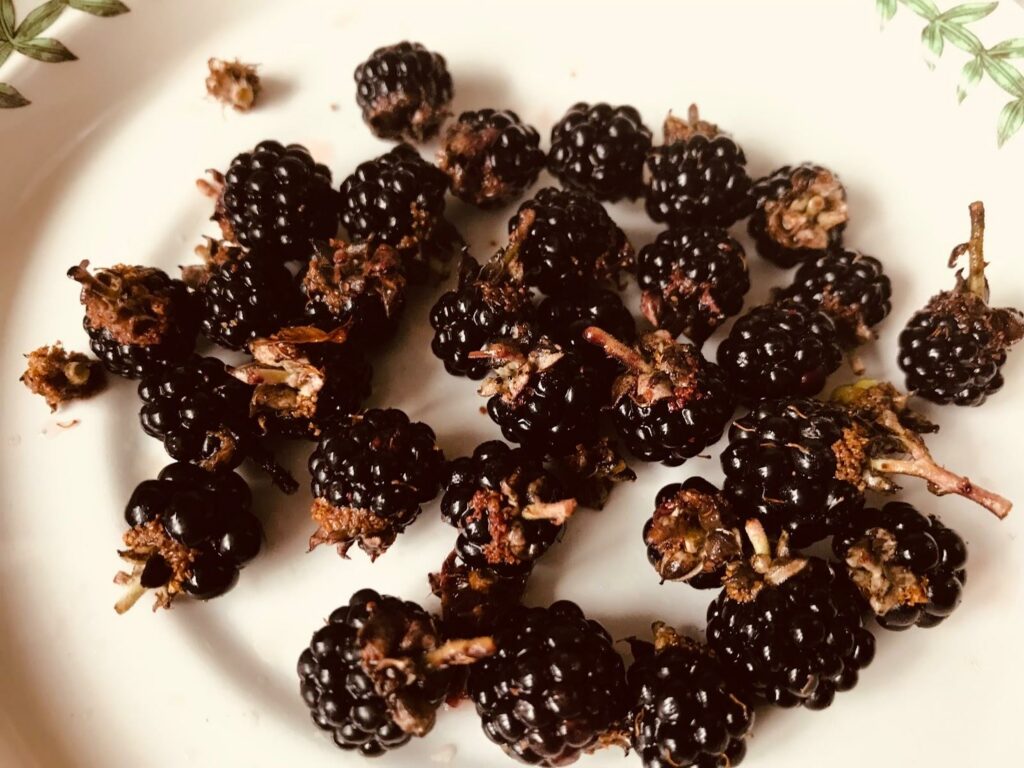
1 – Remove the Stems
When we are picking blackberries with the kids, we normally collect them with stems. I make sure to thoroughly inspect the crop, removing all the stems.
2 – Wash the Blackberries
It is very important to wash the blackberries properly. When you do, you’ll notice the amount of grime. Sometimes you even collect little bugs or leaves while picking. Place all the blackberries ina glass bowl. Cover them with water and add a generous splash of apple cider vinegar. .
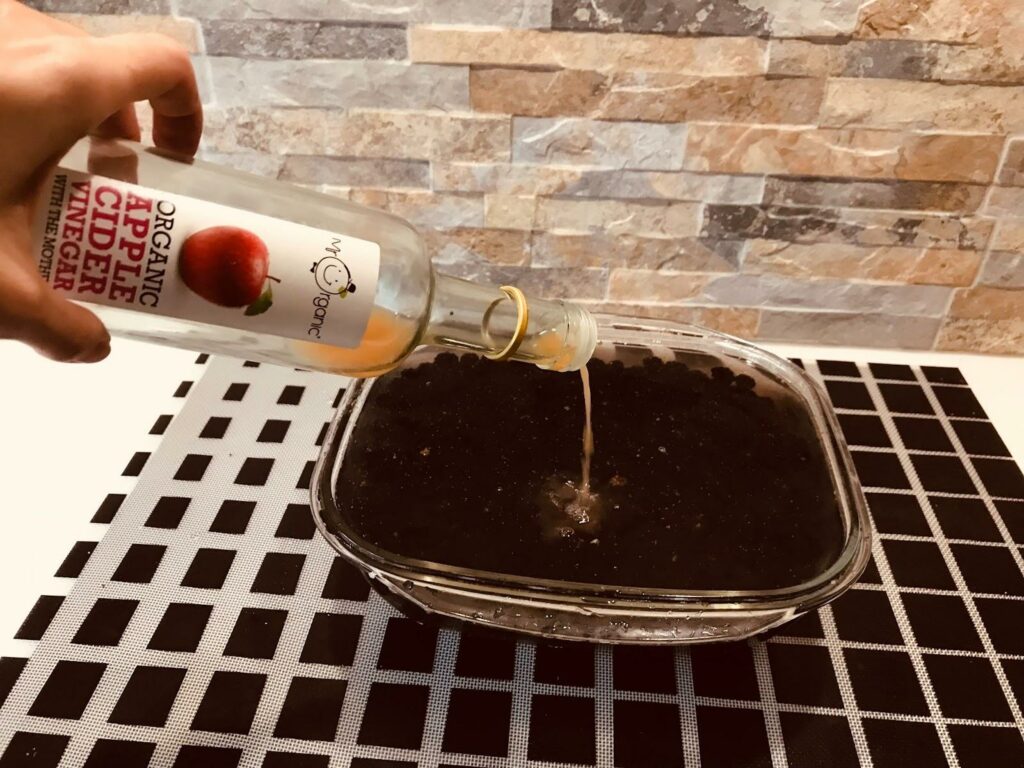
I was shocked at how much debris I collected from the berries. After 5-8 minutes, put them in clean water and repeat the process to be sure they are thoroughly cleaned.
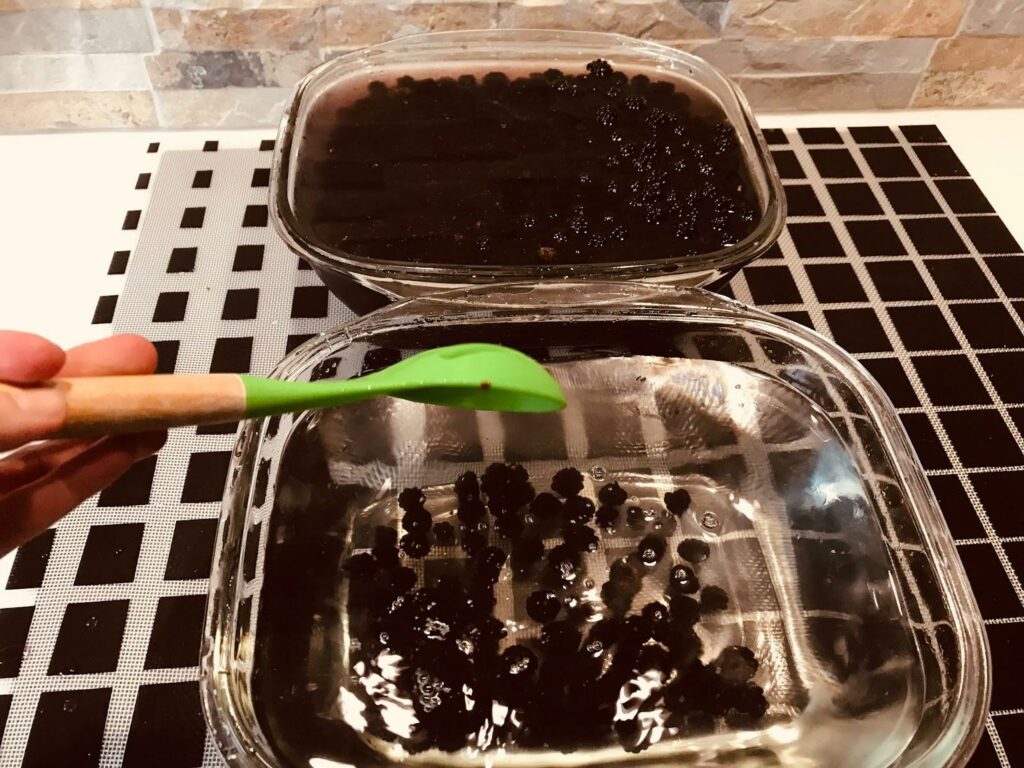
Once they are cleaned, dry the berries completely. First, drain them on a strainer. Then put them on a lined oven tray and let them air dry. Meanwhile, prepare the apples.
3 – Prepare the Apples
Wash the apples and peel them. I use my vegetable peeler since it is the fastest and most efficient way.
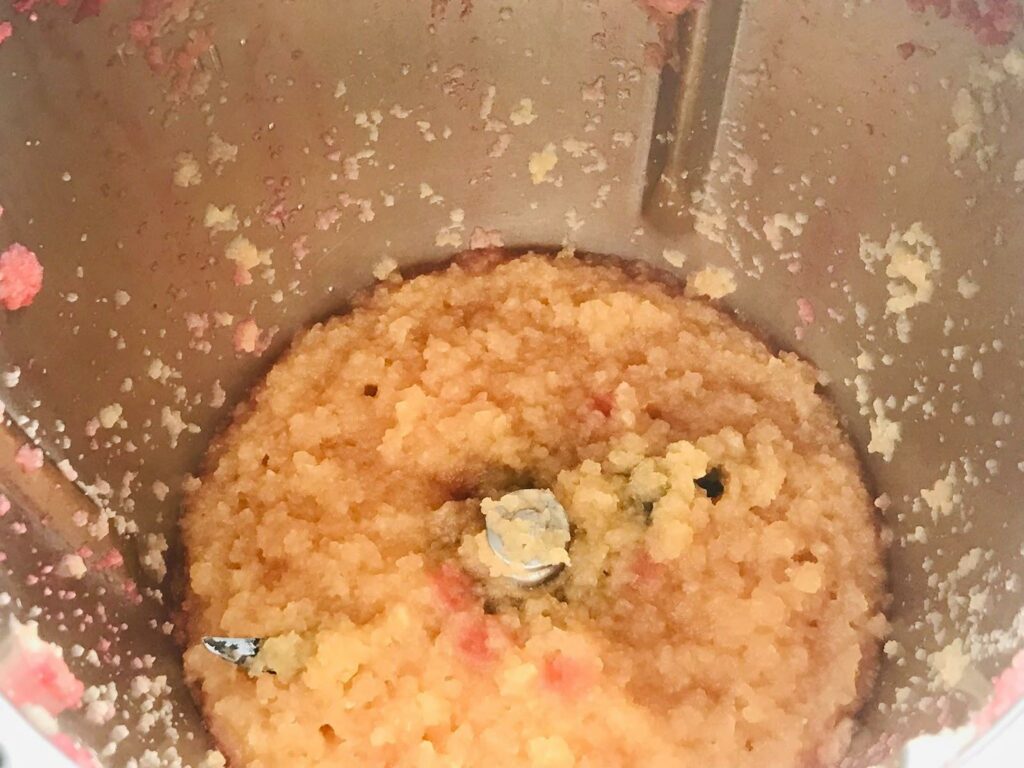
Once they are washed and peeled, cut the apples and put them in the food processor. Puree the apples, then add 1 ½ cup of water. Reserve in a bowl.
If you prefer to do this step on the stovetop, cut the apple into small pieces. Add enough water to cover the apples. Once they are boiling, lower the heat and let them simmer until the apples are soft enough to mash with a fork, about 10 minutes. Once they are cooked, mash them and reserve.
4 – Cook the Blackberries
Put your blackberries into the processor and pulse them until they are puree. I prefer a thicker jam, so I don’t mash them very finely. If you don’t like bits of fruit in your jam, puree until completely smooth.
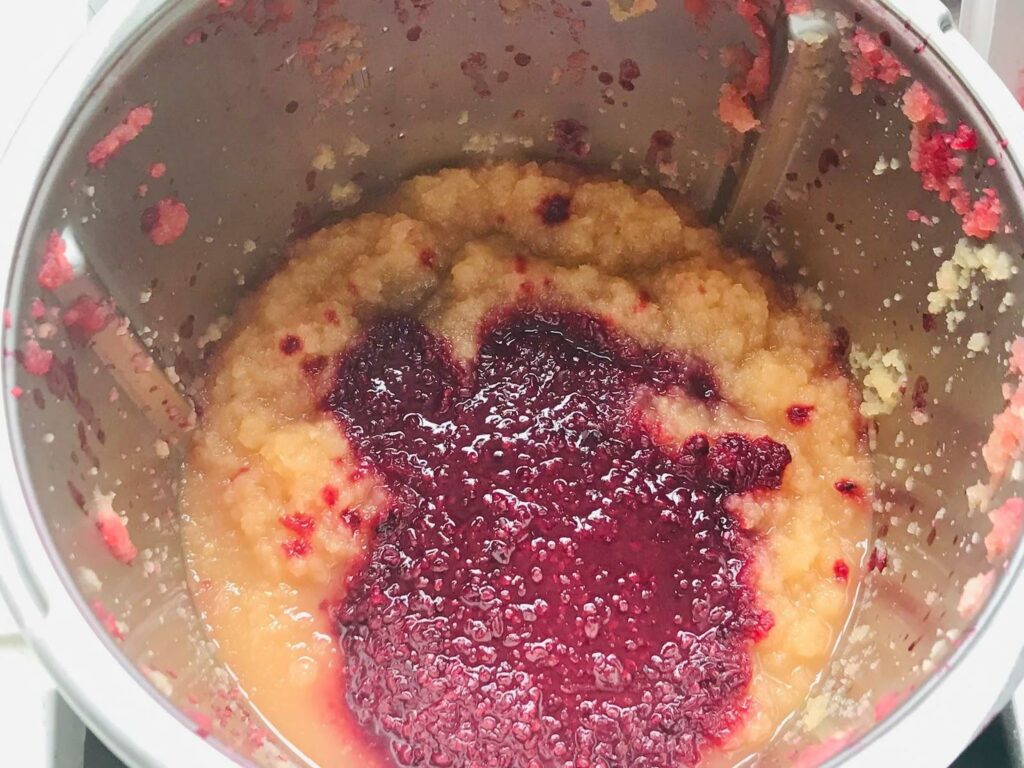
Cook the blackberries for 5 minutes. Add the apple puree and cook for 20 more minutes.
If you prepare your jam on the stove, mash the blackberries with a potato masher and add them into a saucepan. Cook on high heat for 3 minutes, then 5 more minutes on medium heat, stirring frequently to avoid burning. Add the apple puree and cook on low heat for 20 more minutes, stirring frequently.
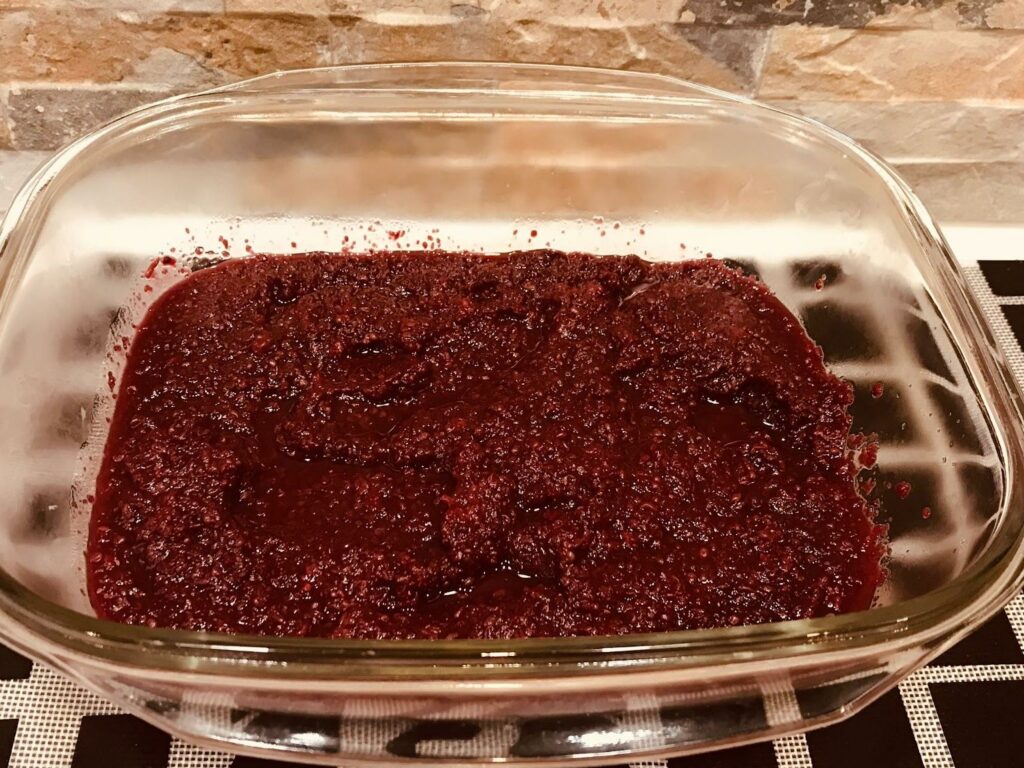
5 – Let the Jam Cool
Once the fruit is cooked, transfer the mixture to a glass bowl and let it cool completely.
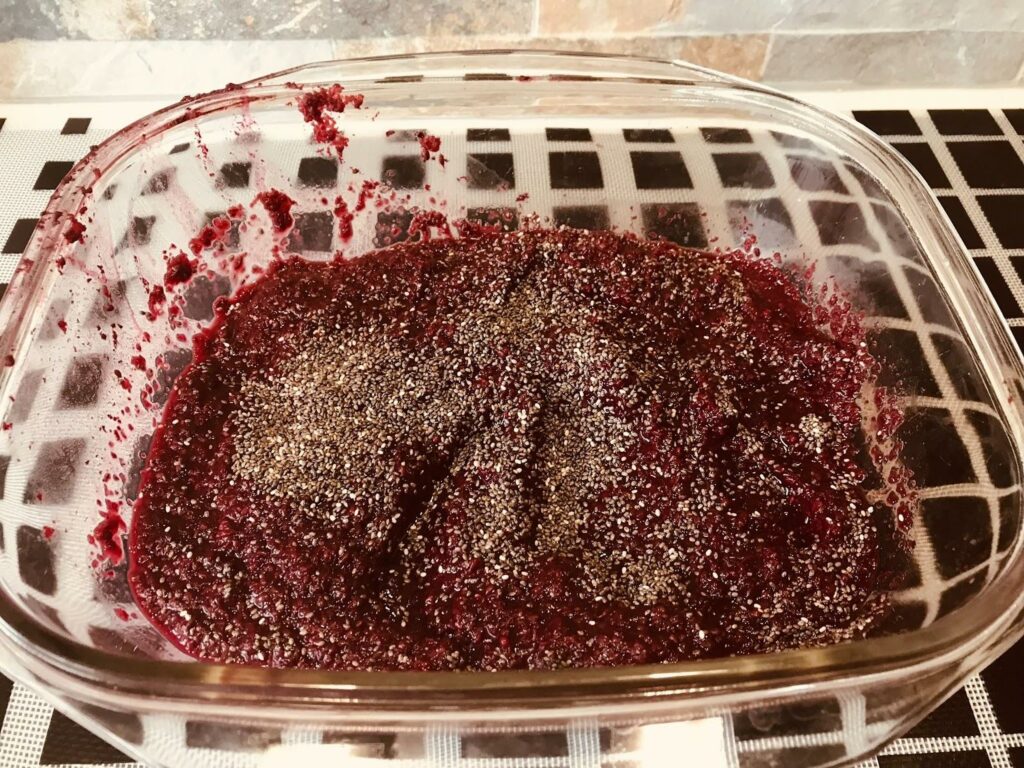
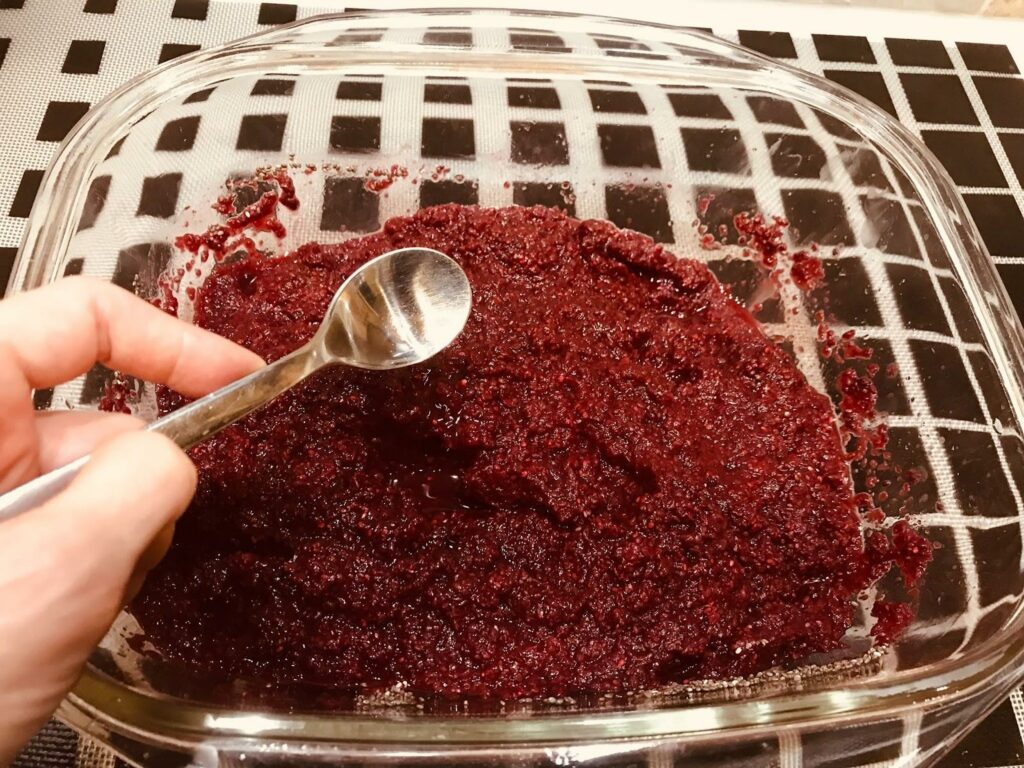
6 – Add Chia Seeds
Once the jam is completely cool, it’s a good time to add chia seeds. This will help the chia seeds keep their properties. Add ½ cup chia seeds, approximately 5 Tablespoons. If that’s too much for you, start with 3 Tablespoons and go from there. Mix everything together.
Put the jam in a glass container and let it sit in the fridge overnight. You will appreciate how the chia seeds release all their goodness, without disturbing the jam taste.
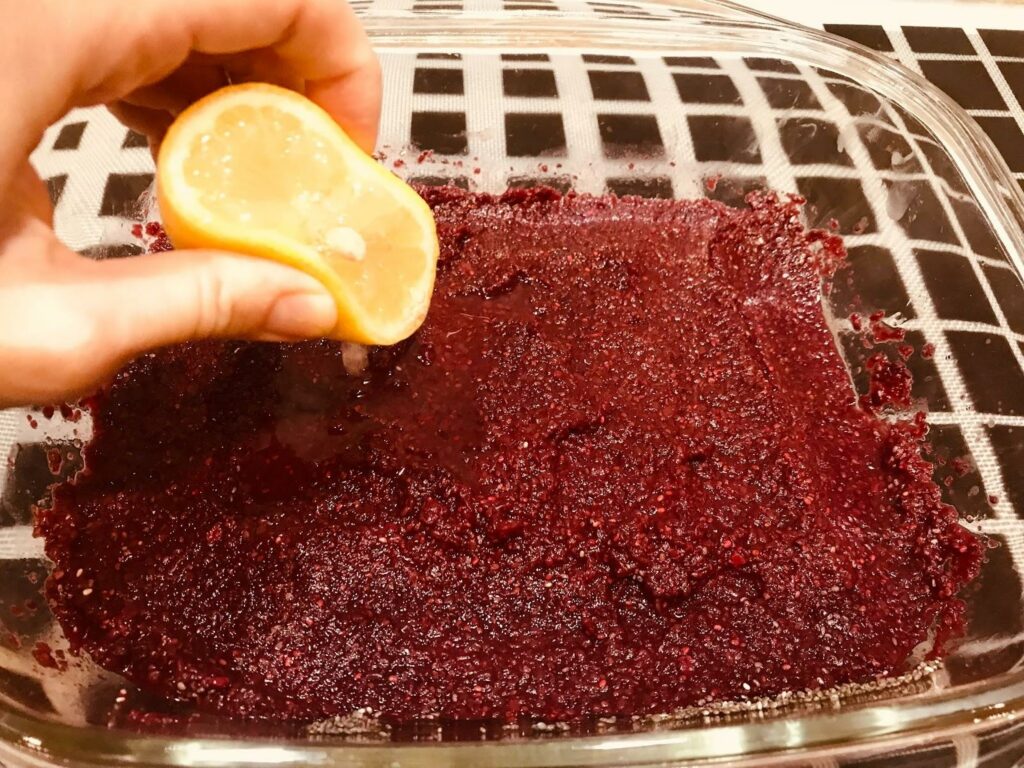
7 – Add Lemon Juice
Wash the lemon, halve it, and squeeze the juice over the mixture. Mix into the jam.
8 – Add the Stevia
Adding Stevia is a personal choice. The apple puree helps sweeten the jam and neutralize the sourness of the blackberries.
I recommend tasting the jam first to judge if it needs more sweetness. If so, add 1 teaspoon Stevia to the jam.
I typically use liquid Stevia because it’s easier to find. It normally comes mixed with erythritol.
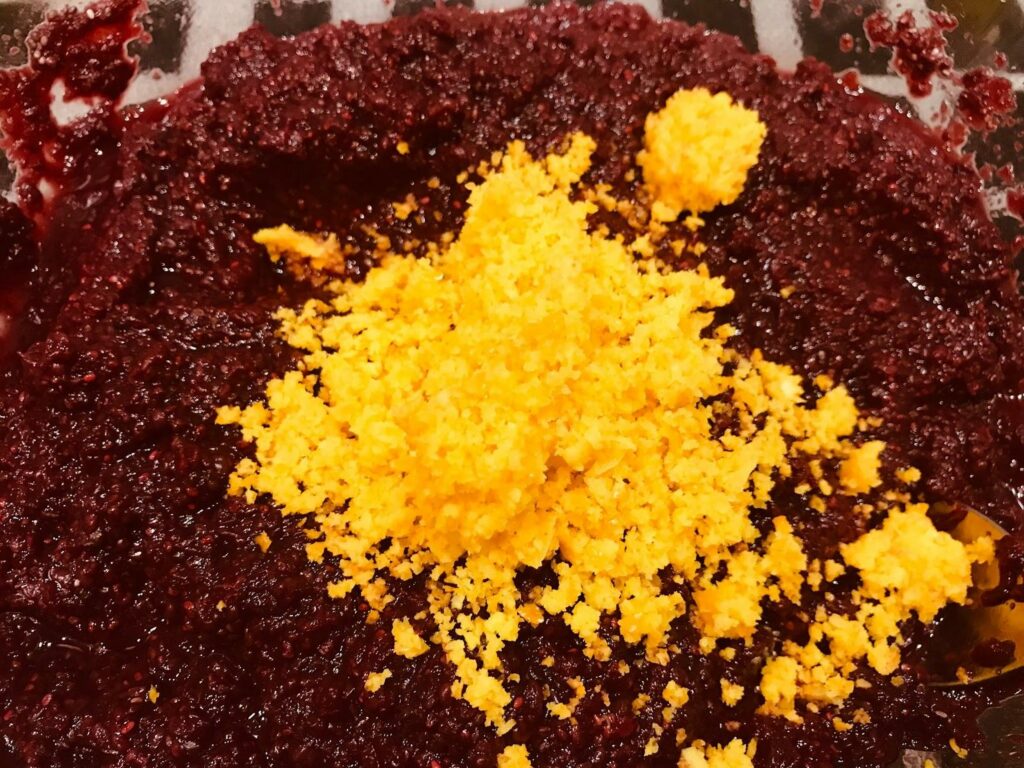
9 – Add the Orange Zest
You can zest the orange with a zester, grate the zest, or peel the orange and put the rind in the food processor to get the zest. Add the orange zest to the jam and mix until it is integrated.

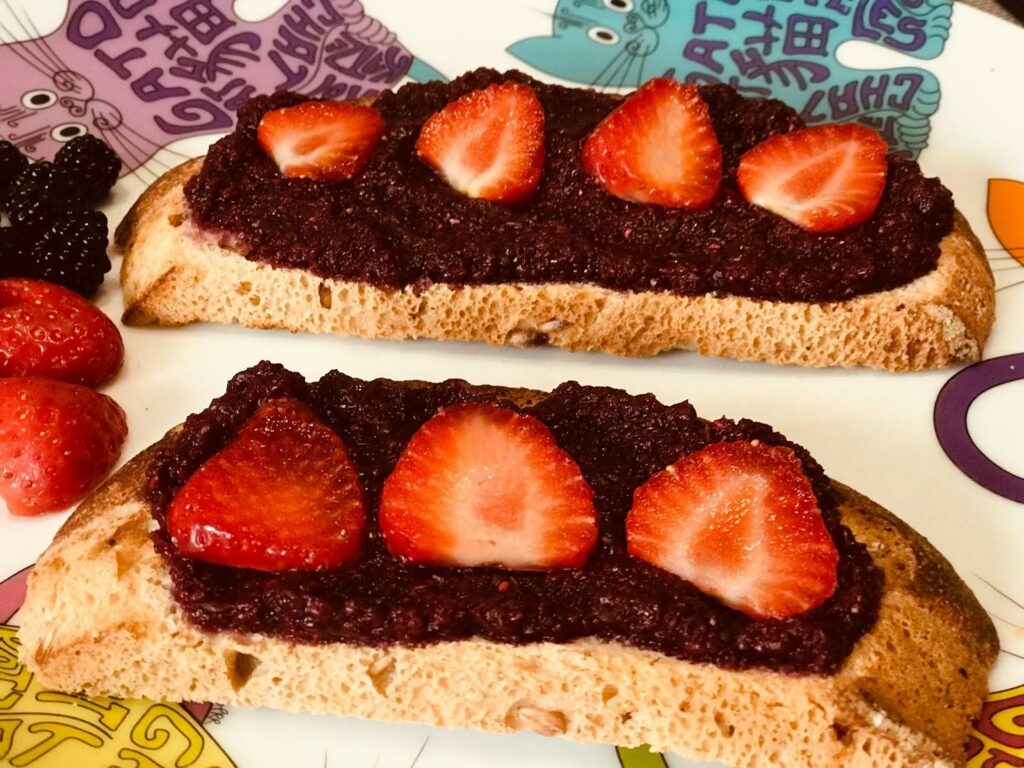
Voila! Your Jam is Ready
Now, you have a delicious freshly made jam that you can keep in your fridge for 5-7 days… if it lasts that long! If you have a lot of blackberries, I recommend you wash them, drain and freeze them.
Cookware
Vegetable Peeler
I use my vegetable peeler to peel the apple. It’s a safe and easy way to peel all my fruit and vegetables. Peelers come in different versions and shapes. My favorite is the “Y” shape.
Glass Bowl
As many of you know, I’m a huge fan of glass cookware. This time, I used two of my favorite bowls to wash the blackberries.
Glass Jar
To store my blackberry jam, I use a beautiful glass jar that a good friend gave me as a gift. But I tend to recycle peanut butter jars once they’re empty. They’re super handy.
Spatula
Spatulas are always “a must” among my kitchen utensils. They are ergonomic and easy to clean. As I mentioned before, I have a set of wooden handle silicone utensils that are super nice to handle. My purple head spatula is one of them. Just love them.
Conclusion
If you haven’t incorporated foraging into your autumn routine, you should try it! Of course, you need to be very careful and be 100 percent sure that you know what you are picking. Even though I am miles away from being an expert in the matter, blackberries are easy to recognize, and many of us picked them as children. I hope you enjoy this different way to make jam, along with all the benefits of the healthy ingredients.
PrintBlackberry Jam

Indulge in the rich and vibrant flavors of homemade Blackberry Jam, a delightful creation crafted from freshly picked blackberries, free from processed sugar—perfect to spread on toast, pair with yogurt
- Prep Time: 40
- Cool Time: 120
- Cook Time: 25
- Total Time: 3 hours 5 minutes
- Cuisine: Vegan
Ingredients
- 24 oz. (700 grams) blackberries
-
5 apples
-
Juice of 1 lemon
-
Zest of 1 orange
-
1/2 cup chia seeds (approximately 5 tablespoons)
-
1 teaspoon liquid stevia
Instructions
Remove the Stems
Make sure to thoroughly inspect the crop, removing all the stems.
Wash the Blackberries
It is very important to wash the blackberries properly. Cover them with water and add a generous splash of apple cider vinegar. .
Prepare the Apples
Wash the apples and peel them. Once they are washed and peeled, cut the apples and put them in the food processor. Puree the apples, then add 1 ½ cup of water. Reserve in a bowl.
Cook the Blackberries
Put your blackberries into the processor and pulse them until they are puree. Cook the blackberries for 5 minutes. Add the apple puree and cook for 20 more minutes.
Let the Jam Cool
Once the fruit is cooked, transfer the mixture to a glass bowl and let it cool completely.
Add Chia Seeds
Once the jam is completely cool, it’s a good time to add chia seeds. This will help the chia seeds keep their properties. Add ½ cup chia seeds, approximately 5 Tablespoons. Mix everything.
Put the jam in a glass container and let it sit in the fridge overnight.
Add Lemon Juice
Wash the lemon, halve it, and squeeze the juice over the mixture. Mix into the jam.
Add the Stevia
Adding Stevia is a personal choice. The apple puree helps sweeten the jam and neutralize the sourness of the blackberries.
Add the Orange Zest
You can zest the orange with a zester, grate the zest, or peel the orange and put the rind in the food processor to get the zest. Add the orange zest to the jam and mix until it is integrated.


