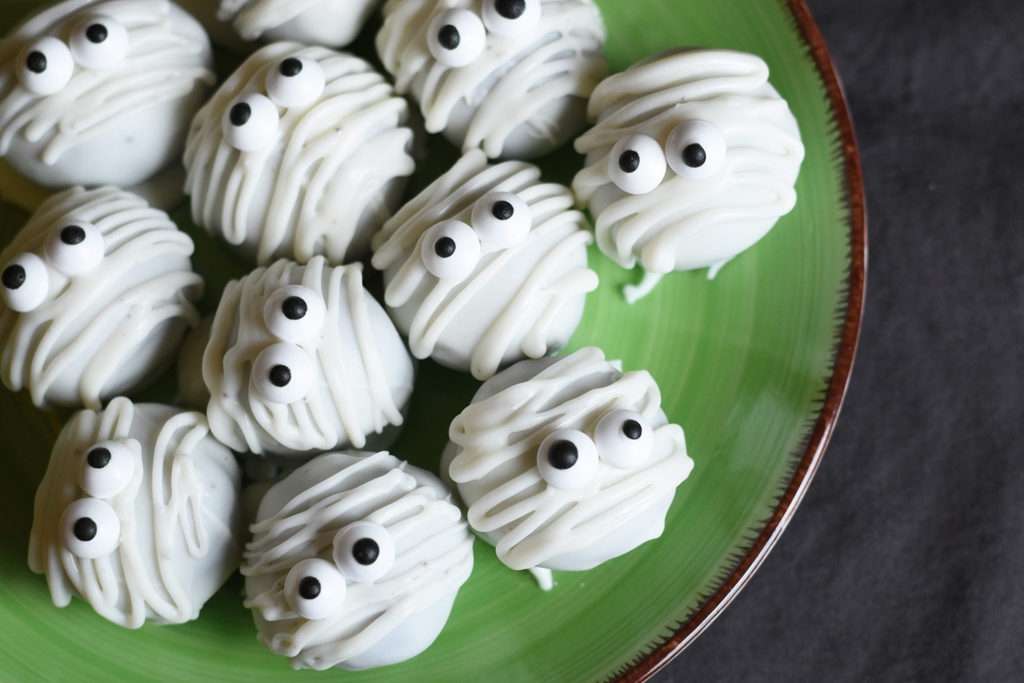
These fun mummy Oreo balls are the perfect spooky dessert for Halloween. They only have four ingredients and are easy to make in advance for an upcoming spooky party.
You can easily change the color of the white chocolate coating to make different Halloween-themed treats. Keep reading to find out how to make these delicious Oreo balls and for more fun character ideas for a spooky dessert.
Contents
Ingredients
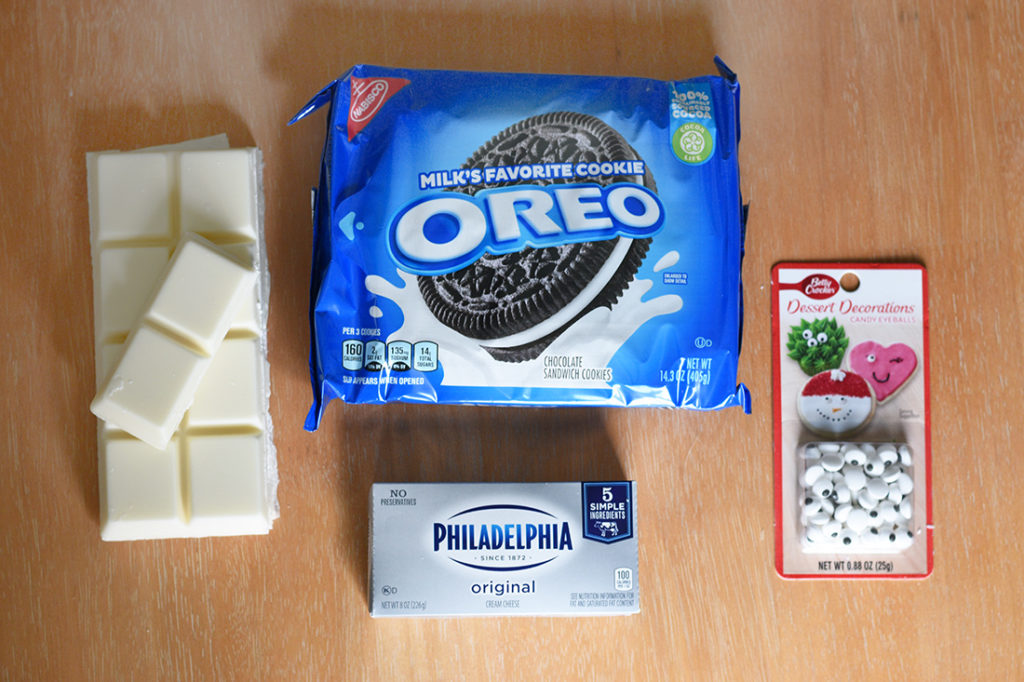
- 36 classic Oreo cookies
- 8 oz. cream cheese, softened
- 24 oz. white chocolate (or vanilla almond bark), 16oz for coating and 8oz for decorating
- Edible eyeballs
How to Melt the Chocolate or Bark
Melting chocolate doesn’t need to be tricky, but you need to be patient. Trying to rush it can cause the chocolate to seize and become stiff and difficult to work with.
To melt smooth and creamy chocolate, use a double boiler and keep everything low and slow. Never let your water come above a simmer, and stir continuously. If you absolutely cannot use a double boiler, you can use the microwave. The same rules apply. Heat the chocolate in 10-second increments and stir well each time.
Instructions
Here are all the steps you need to make this spooky dessert.
Step 1 – Pulverize the Cookies
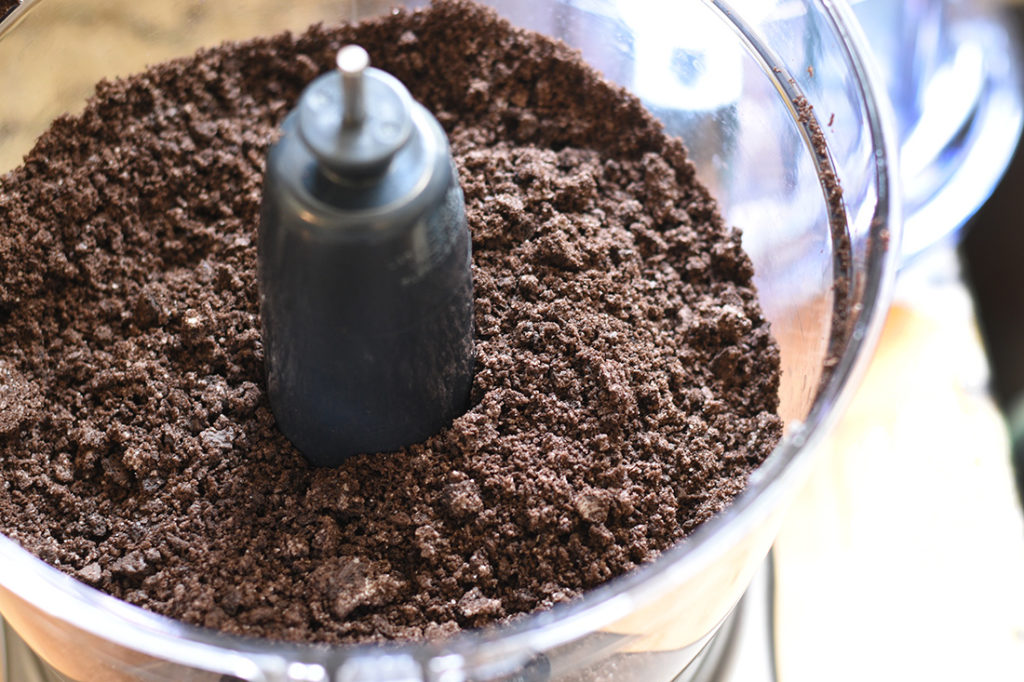
Place all of the Oreos in a food processor and pulse them until they are crumbs. You want to leave the filling in the cookies to create a moist mixture.
If you don’t have a food processor, you could also add all of the cookies to a zip-top bag and crush them using a rolling pin or heavy pan bottom.
Step 2 – Add the Cream Cheese

Add the cookie crumbs into a large bowl along with the cream cheese. Use a hand mixer to beat everything together until combined.
You could also substitute a stand mixture in this step. Use the paddle attachment and mix on a low speed until everything is combined.
If you don’t have a hand or stand mixer, you could do this step by hand with a large wooden spoon. This would take a bit longer, but can absolutely work.
Step 3 – Roll into Balls and Chill
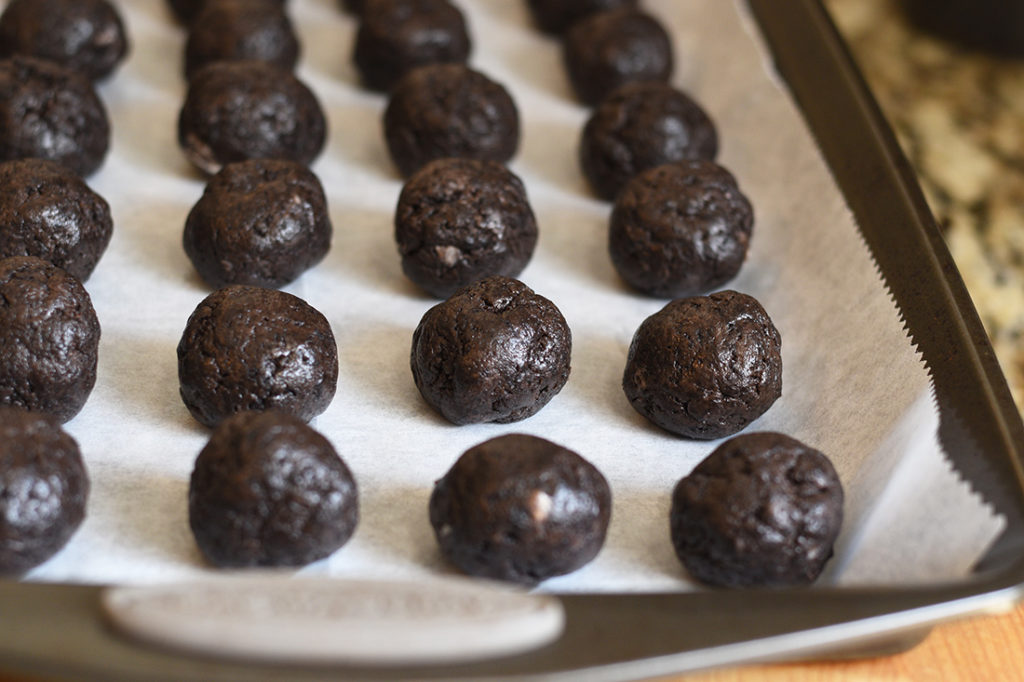
Take a scoop of the cookie mixture and roll it in your hands to form a 1.5-inch ball. Place it on a parchment-lined cookie sheet.
Repeat until the mixture is gone. You should have about 30 Oreo balls.
Place the baking sheet with the Halloween Oreo balls in the freezer for about 10 minutes. This will help them keep their shape when you cover them in the chocolate coating.
Step 4 – Chop the Candy Coating
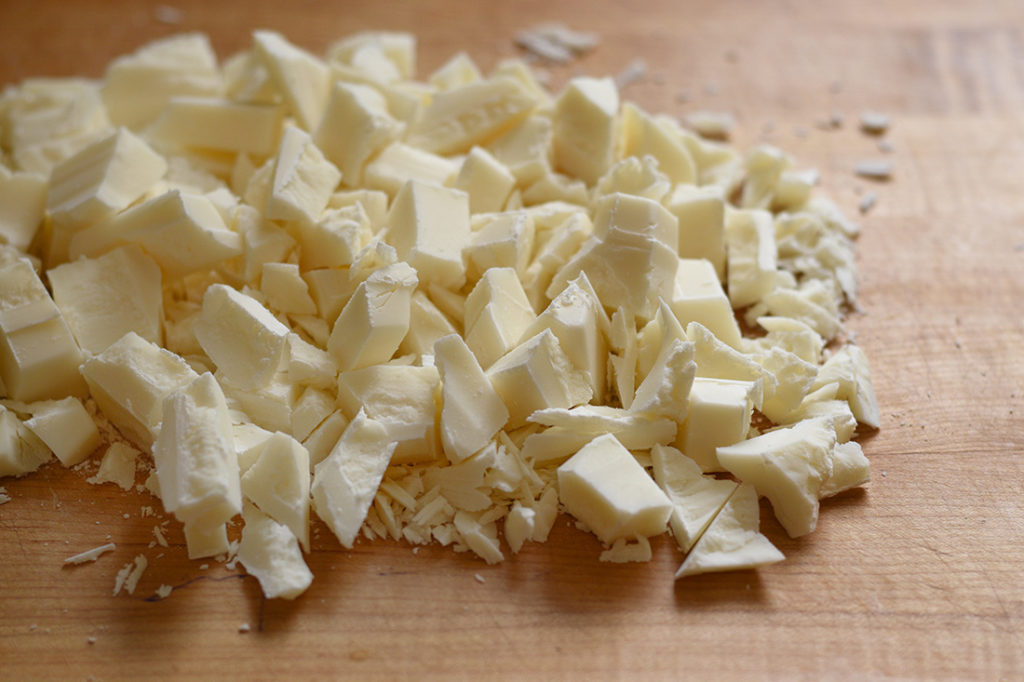
If you’re using larger pieces of chocolate candy bark as I did, roughly chop them into smaller pieces to help them melt more quickly. Chop all 24 oz. of coating.
Step 5 – Melt the Candy Coating
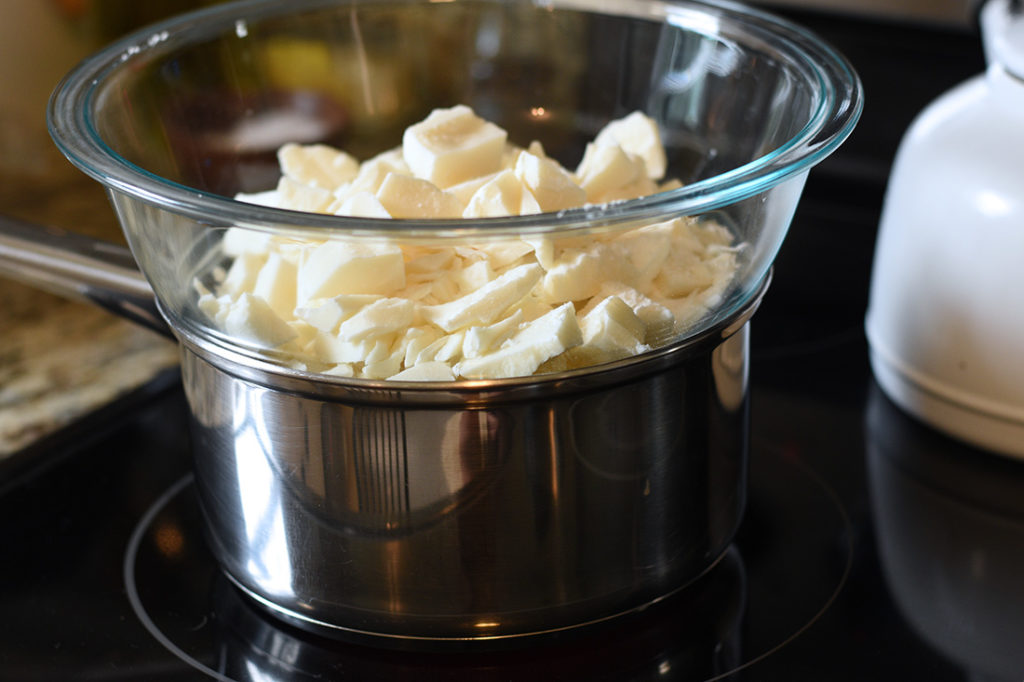
While the cookies are chilling, melt all the bark / chocolate over a double boiler until smooth and glossy. I use a double boiler because I like to watch the melting process. I can’t keep an eye on it in the microwave.
Be sure you are just simmering the water and not boiling it. You don’t want any water to touch the bottom of the bowl, just steam.
Once melted, set aside.
Step 6 – Coat the Halloween Oreo Balls

Using two forks, gently pick up one of the Oreo balls and place it into the melted chocolate / bark. Use both forks to coat the ball evenly and then place it back on the parchment paper.
Continue until the cookie balls are all coated. Place the baking sheet with coated Oreo balls in the fridge for the coating to set, about 10 minutes.
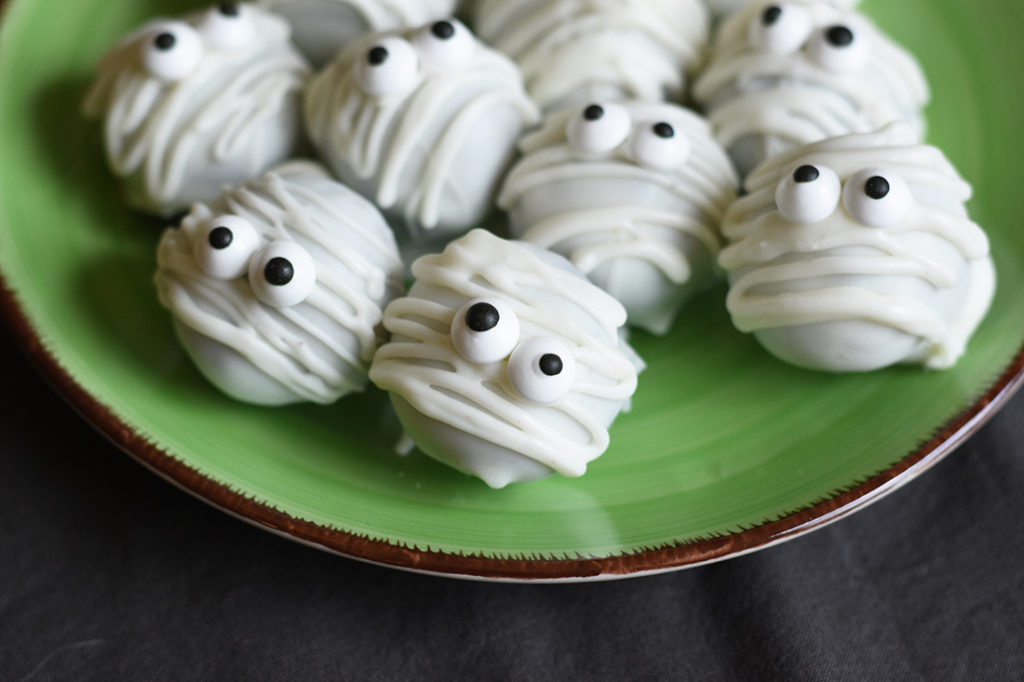
Step 7 – Create the Mummys and Enjoy!

Next, use a zip-top bag with the corner cut off to pipe stripes of melted chocolate onto the Oreo balls.
If the chocolate has cooled too much, you can warm it up again if needed before adding it to the zip-top bag. Just be sure it isn’t hot to avoid burns.
Add two candy eyes to each mummy’s face and place the balls back on the parchment. Continue until all the balls are decorated.
Set the cookie sheet in the fridge to cool completely and set the chocolate.
Cookware Used
Here are all the tools I used to make this cute and spooky dessert.
Food Processor: This is the best tool to crumble the Oreo cookies quickly and evenly. A mini chopper will also work if you crush the cookies in batches.
Hand Mixer: I like using a hand mixer to mix the cream cheese into the cookie crumbs. A stand mixer works just as well.
Zip-Top Bags: I love to use these when piping icings or frostings and they work great for these Oreo balls as well. Cut a small piece of a corner off and you’ve got a quick, disposable piping bag!
Halloween Oreo Cookie Ball Variations
You can easily turn these cute little cookie balls into other spooky dessert characters. By changing the color of the chocolate and using different decorative candies, the options are endless. Here are some of my favorites.
Pumpkin Oreo Balls
Follow the same steps above, but once your chocolate has melted, add one or two drops of red and yellow food coloring to the chocolate coating. Stir until you get your desired orange color and use that to coat the Oreo balls.
Instead of the candy eyes, use a piece of green sour rope candy as a stem on each ball.
Bat Oreo Balls
To make a spooky bat Oreo ball, use dark chocolate for the coating. Follow the steps above and use two mini chocolate chips for ears, candy eyes, and break one half of an Oreo cookie into two pieces to create wings.
How to Store Oreo Cookie Balls
These fun Halloween treats are easy to make ahead and store for later. Since they have cream cheese in them, you’ll need to keep them in the refrigerator.
Place the balls in a single layer in an air-tight container and store them in the fridge for 7-10 days. If you don’t have a large enough container, I recommend putting them in a zip-top bag on a small cutting board or baking sheet to store in the fridge.
Now, It’s Your Turn!
If you are looking for a fun and spooky dessert, you should try making these mummy Oreo balls yourself. There are just a couple of ingredients and a few simple steps to follow.
Remember to be patient with the chocolate coating and to refrigerate between steps to allow the filling and the coating to set correctly. I hope you have as much fun with this Halloween treat as I did!
PrintSpooky Mummy Oreo Balls
These fun mummy Oreo balls are the perfect spooky dessert for Halloween. With only four ingredients they are super-easy to make.
- Prep Time: 25 minutes
- Chill Time: 10 Minutes
- Total Time: 35 minutes
- Yield: 30 Oreo balls 1x
- Category: Halloween
- Cuisine: Dessert
Ingredients
- 36 classic Oreo cookies
- 8 oz. cream cheese, softened
- 16 oz. vanilla almond bark or white chocolate, plus more for decorating
- Edible eyeballs
Instructions
Pulverize the Oreos
Place all of the Oreos, including the fillings, in a food processor until they are crumbs.
Add Cream Cheese
Add the cookie crumbs into a large bowl along with the cream cheese. Use a hand or stand mixer to beat everything together until combined.
Roll into Balls and Chill
Take a scoop of the cookie mixture and roll it in your hands to form a 1.5-inch ball. Place it on a parchment-lined cookie sheet.
Repeat until the mixture is gone, then place the baking sheet with the Halloween Oreo balls in the freezer for about 10 minutes.
Melt the Candy Bark / White Chocolate
While the cookies are chilling, chop the candy coating into small pieces.
Then melt the bark over a double boiler, or in a microwave, until smooth and glossy.
Once melted, set aside.
Coat the Oreo Balls
Using two forks, gently pick up one of the Oreo balls and place it into the melted chocolate. Use both forks to coat the ball evenly and then place it back on the parchment paper.
Continue until the cookie balls are all coated. Place the baking sheet with coated Oreo balls in the fridge for the coating to set, about 10 minutes.
Create the Mummies
Next, use a zip-top bag with the corner cut off to pipe stripes of melted chocolate / bark onto the Oreo balls.
Add two candy eyes to each mummy’s face and place the balls back on the parchment. Continue until all the balls are decorated.
Set the cookie sheet in the fridge to cool completely and set the chocolate.
Nutrition
- Serving Size: 23 g
- Calories: 106 kCal
- Sugar: 7.53 g
- Sodium: 54 mg
- Fat: 6.8 g
- Saturated Fat: 3.5 g
- Trans Fat: 0.009 g
- Carbohydrates: 9.9 g
- Fiber: 0.3 g
- Protein: 1.8 g
- Cholesterol: 8 mg


