I absolutely love baking for the holidays. Nothing feels more festive to me than a kitchen full of brightly colored sweets.
This Christmas cookie recipe is my go-to for the holiday season. It doesn’t require many ingredients, it’s easy, and your kids can help, which makes it even more fun!

Contents
Ingredients
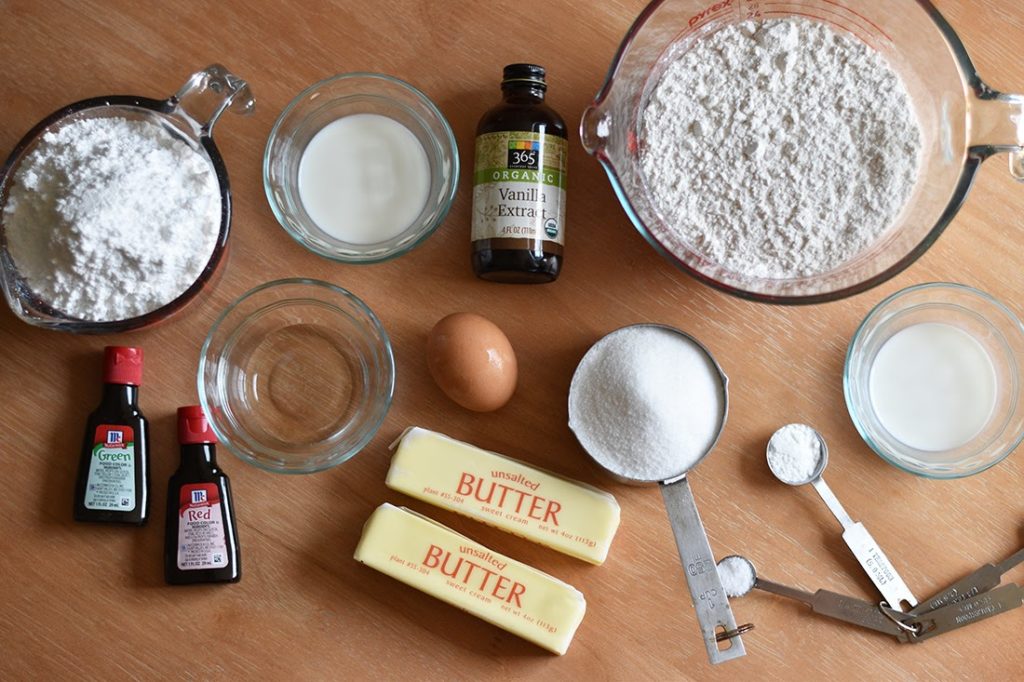
For the Cookies
- 1 cup unsalted butter (2 sticks)
- 1 cup sugar
- 1 egg
- 2 teaspoons vanilla extract
- 2 tablespoons whole milk
- 3 cups all-purpose flour
- ¾ teaspoon baking powder
- ¼ teaspoon salt
For the Icing
- 3 cups powdered sugar
- 3-4 tablespoons whole milk
- 2 teaspoons light corn syrup
- ½ teaspoon vanilla extract
- Food coloring
A Tip for Icing Sugar Cookies

You don’t need a lot of fancy specialty gear to get sugar cookies with piped icing. I like to use a zip top bag to ice my sugar cookies. It can be daunting to get brightly colored icing into a piping bag, but with some practice I’ve figured out the best way.
Use a sandwich size bag for your icing, it’s plenty big once you’ve separated your icing to color it. The smaller the bag, the easier it is to fill and maneuver once full.
Use a rocks glass, or shorter cup, and place the bag inside the cup, folding the edges of the bag over the rim. This will hold and stabilize your bag while you add your icing.
After adding the icing, cut a very small hole in the tip of the bag. Not so small that squeezing it causes you to break a seam of the bag, but big enough that you can easily control the amount of icing that comes out.
To pipe the icing, gently squeeze the bag.
Instructions
Here’s how you make these easy Christmas cookies from scratch.
Step 1 – Prepare and Plan
Be sure to take the butter out of the fridge to start softening well before you want to start making these cookies.
Also, note that these need to chill for at least 1 hour before baking and then cool completely before icing.
The icing will also need time to set after you ice your cookies. Give yourself a couple of hours for that, as well.
Step 2 – Make the Dough
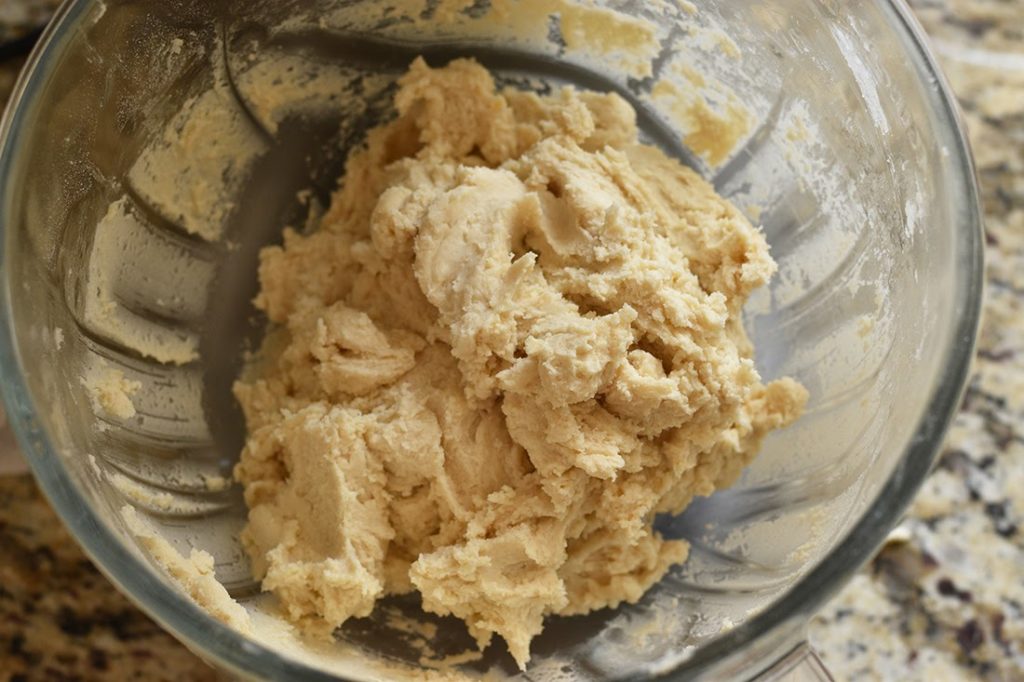
In one bowl, whisk together the flour, baking powder, and salt. Set aside.
In another bowl, add your softened butter and sugar. Using a hand mixer (or stand mixer, if you have one) beat until light yellow and creamy. This will take about 3 minutes.
Pour in the vanilla, whole milk, and add the egg. Mix until everything is well combined, about 2 minutes.
Add the dry ingredients slowly. I like to use a large serving spoon and mix between spoonfuls, scraping the sides of the bowl often.
Step 3 – Chill the Dough
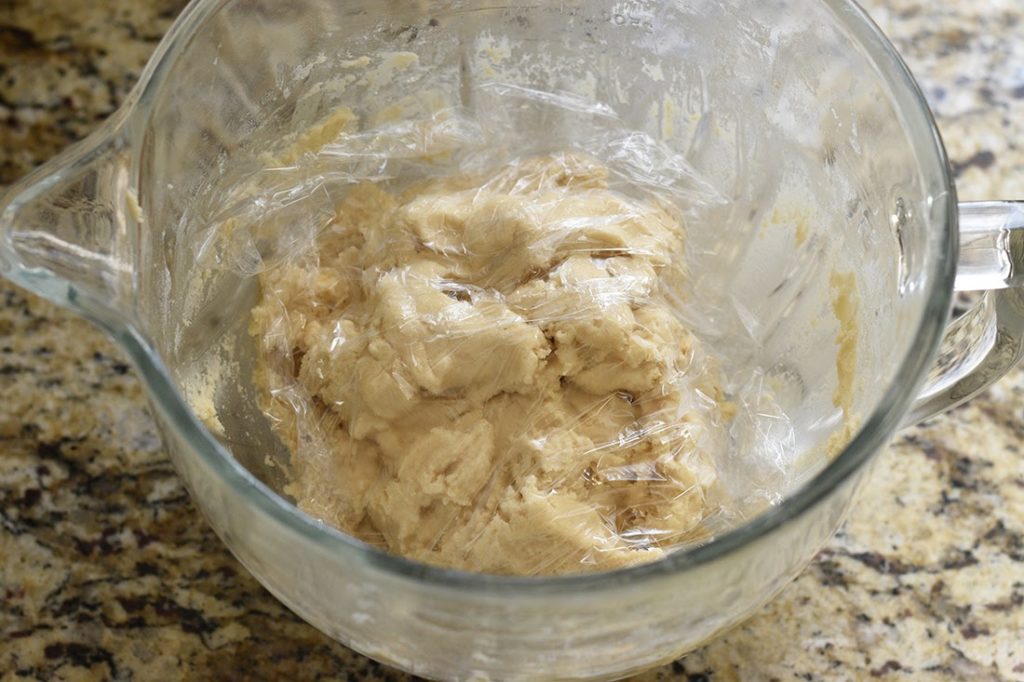
In an air tight container, cover the cookie dough with a layer of plastic wrap.
Place the on the container and refrigerate the dough for at least an hour and up to overnight.
Step 4 – Roll the Dough and Cut Cookies
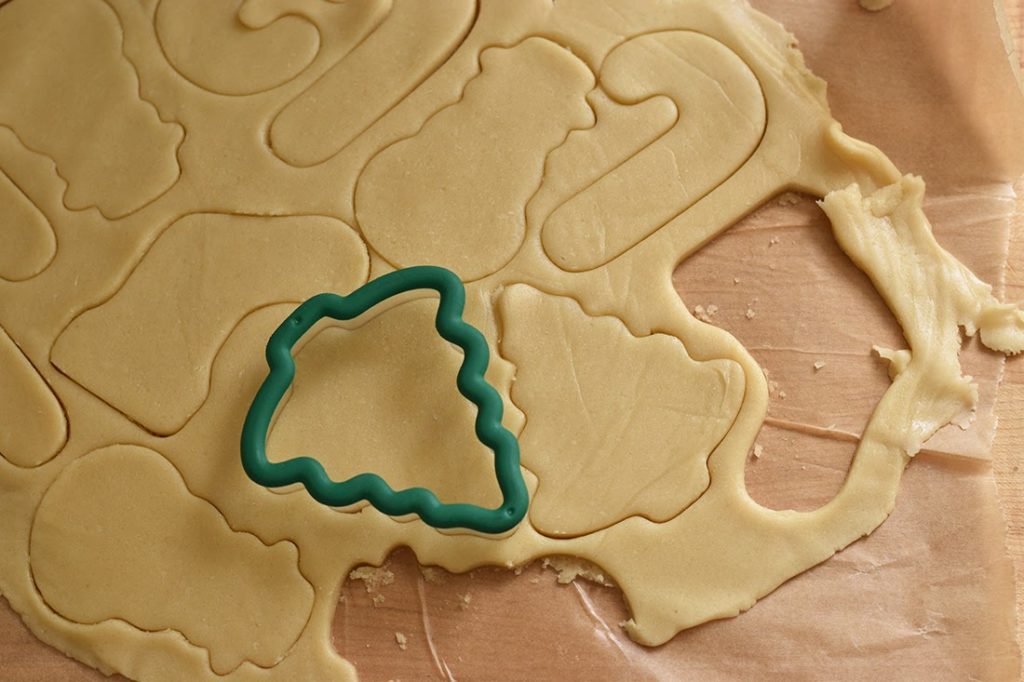
Once the dough has chilled, split it into two portions.
Use a rolling pin to roll the dough between two pieces of parchment paper. This allows you to roll the dough without it sticking to the rolling pin and without having to add a lot of extra flour to the dough.
Roll each portion of the dough into ¼-inch thick rounds.
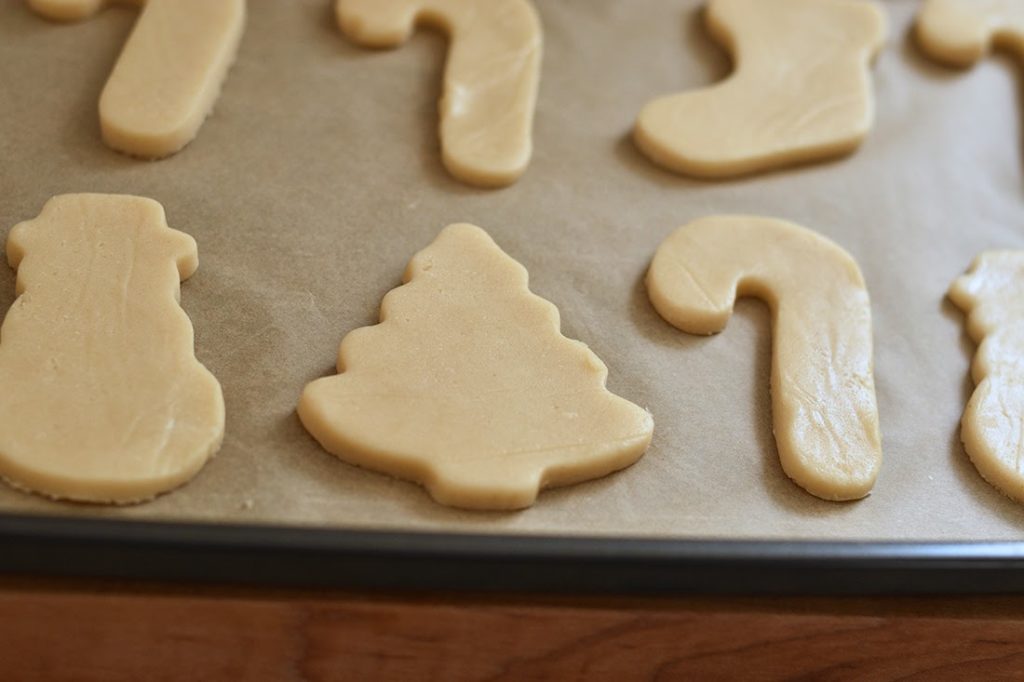
Take your rolled dough and cut Christmas shapes as close together as you can, wasting very little dough.
If the cookies are hard to remove, place the entire dough round on a cookie sheet and get it into the refrigerator. Once they’ve cooled some, they are easier to cut and remove cleanly.
If you have extra dough, place it back in the refrigerator for about 10 minutes and roll it out again to make more shapes
Step 5 – Bake the Cookies
Preheat the oven to 350°F (175°C).
Place the cookies on a parchment-lined cookie sheet and bake for 9-10 minutes.
Step 6 – Let the Cookies Cool
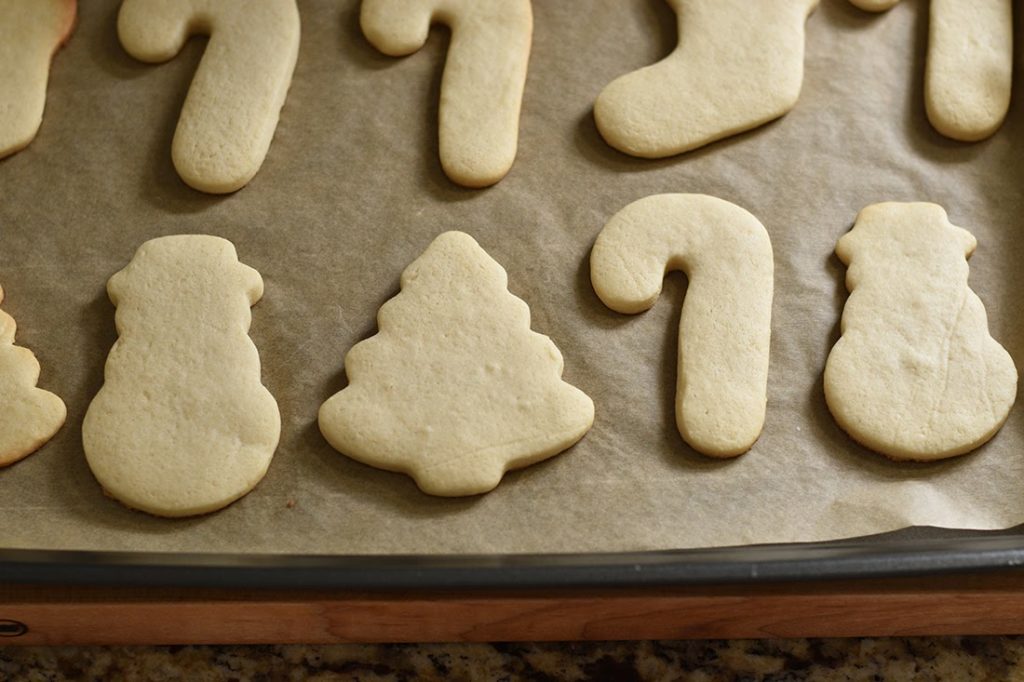
Once the cookies have baked, let them sit on the baking sheet for 3-4 minutes and then place them on a wire rack to cool completely.
Step 7 – Make the Icing
While your cookies are cooling, you can whip up the easy icing.
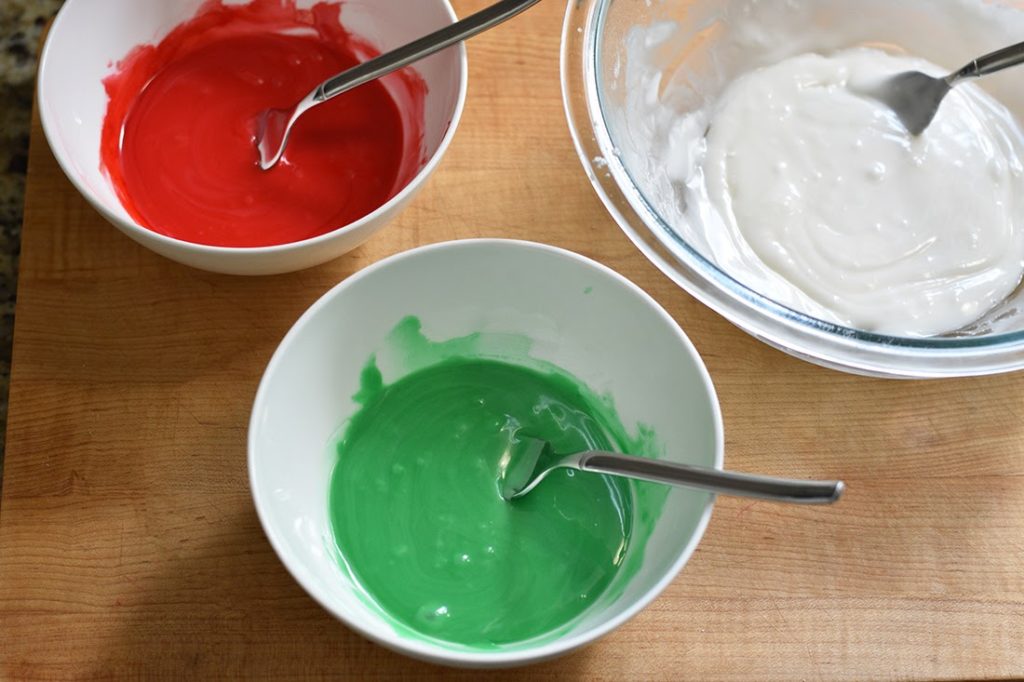
In a medium size bowl, whisk together the powdered sugar, milk, corn syrup, and vanilla extract. It will be quite thick, and that’s okay. It’s supposed to be thick.
If you find that the consistency is too loose, add more powdered sugar a teaspoon at a time until it’s thickened. If it is too thick, add more milk ½ teaspoon at a time.
Separate the icing into small bowls and add food coloring as desired.
Step 8 – Ice the Cookies

Once your cookies have cooled completely, you can start to decorate!
I normally use a zip-top bag from my pantry and just barely cut the corner off to create a very small piping hole.
You could also use a piping bag and a piping tip or a squeeze bottle for more precise icing.
You can either eat these cookies right away, and I’m sure that will happen with at least some of them, or you can let the icing set for a few hours before placing them in an air-tight container.
Store them at room temperature for about a week or in the refrigerator for up to 10 days.
Cookware Used
Cookie sheet pan: I used a couple of cookie sheet pans that slide into my oven. You should be able to use the pan that came with your oven, but if you would like to use a couple, or need a new one, check out my bakeware sets guide.
Zip Top Bags: I use sandwich size zip top bags for piping my icing.
Piping Bags and Tips: If you’d prefer, you can use piping bags and tips for this recipe. I recommend a Wilton size #2 tip for these cookies.
Rolling Pin: To get the cookie dough spread to the ¼-inch thickness, a standard rolling pin is best.
Parchment Paper: I use parchment paper both for rolling out the dough and to line my baking pans for even baking.
Tips for Making Fun Christmas Cookies with Kids!
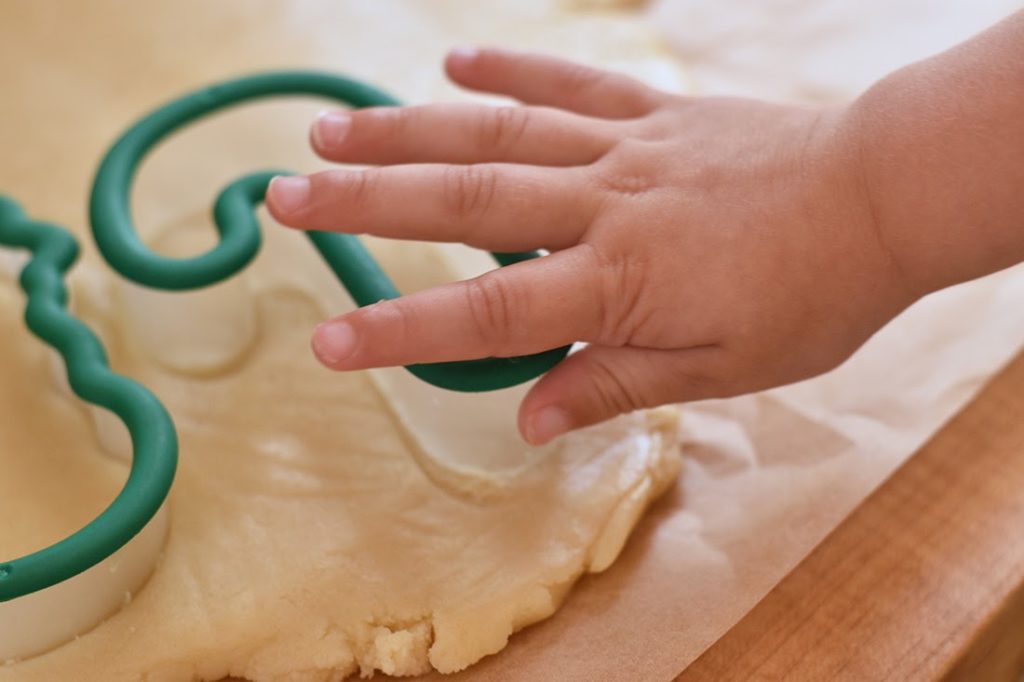
This is a really fun recipe to make with kids. Children as young as 2 can help make this recipe and I let my kids help do the following:
- Give them the whisk for mixing the dry ingredients
- Let them add the dry ingredients to the wet ingredients when making the dough
- They can help cut out the fun shapes with cookie cutters
- Once you’ve added food coloring to your frosting, let them mix it in
- ALWAYS let them taste test the final product!
An Alternate Icing for Cookies
If you prefer a more frosting-style icing, you can swap softened butter for the corn syrup. The recipe would look like this:
¼ cup softened butter
3 cups powdered sugar
4 tablespoons whole milk
½ teaspoon vanilla extract
Just as the recipe above states, mix everything together and add additional powdered sugar or milk to get the desired consistency. Spread this frosting on the cookies using a offset spatula or butter knife.
Healthier Icing
Very find sugar is the traditional icing base. Of course it isn’t the healthiest! If you want a healthier alternative consider using something like granulated Stevia and Erythritol. This is available as a one to one replacement for sugar.
Yet it doesn’t comes as a replacement for icing sugar, so what can you do? When I’ve done this I’ve used a food processor to “grind” the Stevia and Erythritol mix. This creates a really fine mixture with icing sugar consistency.
Be warned though, it isn’t quite as good as icing sugar. So if you want to make the recipe a bit healthier, but still easy, you could replace half the sugar with a finely ground Stevia and Erythritol mix.
How to Freeze Cookies for Later
You can freeze these cookies in one of two ways.
The first would be to bake them and ice them following steps 1-8 above and to layer in a freezer-safe container once the icing has completely set. Then just thaw and eat.
The second option is to follow steps 1-3 above, but instead of rolling out the dough you would just form it into a thick disc and cover it in plastic wrap to freeze. This option requires that you thaw the dough, and then complete steps 4-8 when you’re ready to bake. Frozen dough is good for up to 3 months.
Now, It’s Your Turn!

This easy Christmas cookie recipe is so much fun to make. The cookie recipe itself is simple and the decorating can entertain kids of all ages.
Bake a batch to bring to a party or just eat a couple and freeze the rest for when you’ve got a craving. Either way, you’ll have a fun Christmas cookie recipe that you can make every year with your family.
PrintChristmas Cookie Recipe

Christmas Cookies are a great festive activity for adults and children alike. Check out my recipe to do the whole thing from scratch!
- Prep Time: 2 hours
- Cook Time: 10 minutes
- Total Time: 2 hours 10 minutes
- Yield: 24 Cookies 1x
- Category: Christmas
- Cuisine: Dessert
Ingredients
For the Cookies
- 1 cup unsalted butter (2 sticks)
- 1 cup sugar
- 1 egg
- 2 teaspoons vanilla extract
- 2 tablespoons whole milk
- 3 cups all-purpose flour
- 3/4 teaspoon baking powder
- 1/4 teaspoon salt
For the Icing
- 3 cups powdered sugar
- 3–4 tablespoons whole milk
- 2 teaspoons light corn syrup
- 1/2 teaspoon vanilla extract
- Food coloring
Instructions
Prepare and Plan
Take butter out of fridge to soften before starting.
Make the Dough
In one bowl, whisk together the flour, baking powder, and salt. Set aside.
In another bowl, add your softened butter and sugar. Beat until light yellow and creamy.
Pour in the vanilla, whole milk, and add the egg. Mix until well combined.
Add the dry ingredients slowly.
Chill the Dough
In an air tight container, cover the cookie dough with a layer of plastic wrap.
Place the on the container and refrigerate the dough for at least an hour and up to overnight.
Roll the Dough and Cut Cookies
Once the dough has chilled, split it into two portions.
Use a rolling pin to roll the dough between two pieces of parchment paper.
Roll each portion of the dough into ¼-inch thick rounds.
Bake the Cookies
Preheat the oven to 350°F (175°C).
Place the cookies on a parchment-lined cookie sheet and bake for 9-10 minutes.
Let the Cookies Cool
Once the cookies have baked, let them sit on the baking sheet for 3-4 minutes and then place them on a wire rack to cool completely.
Make the Icing
While your cookies are cooling, you can whip up the easy icing.
In a medium size bowl, whisk together the powdered sugar, milk, corn syrup, and vanilla extract. It will be quite thick, and that’s okay. It’s supposed to be thick.
Separate the icing into small bowls and add food coloring as desired.
Ice the Cookies
Once your cookies have cooled completely, you can start to decorate!
You can use a piping bag and a piping tip or a squeeze bottle for precise icing.
Store them at room temperature for about a week or in the refrigerator for up to 10 days.
Nutrition
- Serving Size: 56 g
- Calories: 205 kCal
- Sugar: 24 g
- Sodium: 35 mg
- Fat: 5.8 g
- Saturated Fat: 3.4 g
- Trans Fat: 0 g
- Carbohydrates: 36.3 g
- Fiber: 0.4 g
- Protein: 2.4 g
- Cholesterol: 36 mg


